I am very pleased to announce the publication of my paperback edition of Susan's Showy Flowers on Amazon!

New Mum II - Crochet Pattern Instructions
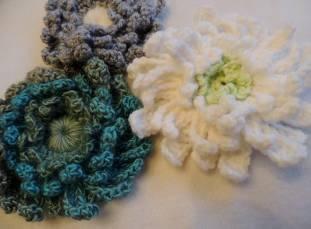
This full and showy chrysanthemum can be worked in any weight yarn with its suggested hook size; but I prefer a medium weight yarn and a size F or G for a nice tight stitch…or a light weight (baby weight) yarn with a size D or E hook. If you use a soft and flexible yarn, its petals will curl more, as in the blue and gray mums in the photo above. A more sturdy acrylic yarn will yield a flower with stiffer petals.
You can choose either a button style center (shown in the blue and grey example) or a nubby center of sc with small loops (shown in the white example)
Use two colors of yarn, one for the flower center, and one for the main color of your flower.
In your first yarn color for your center, (I chose light green light weight yarns), make your flower center first, ending with a round of 18 stitches to build your mum petals on:
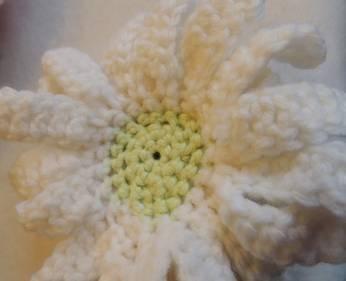
Button center:
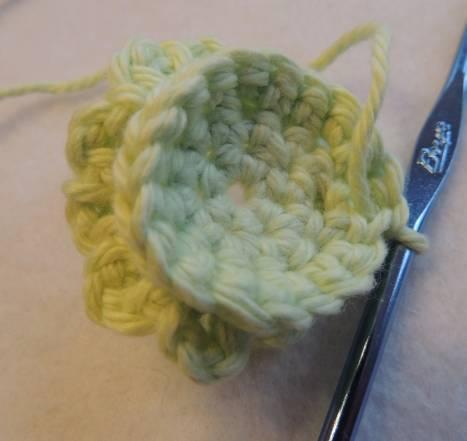
Rnd 1: Ch 3, join to form small ring. Ch 2, dc 11 times in ring. Join.
Rnd 2: Cover dcs of rnd 1 with 18 long single crochet stitches. (You can see a small tutorial if you search youtube for “VideoLongSingleCrochet”). Join. Skip to Rnd 5 to complete your mum.

Alternate Nubby Center:
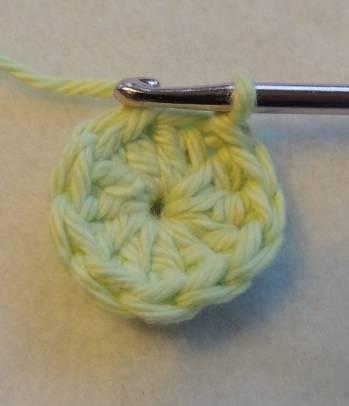
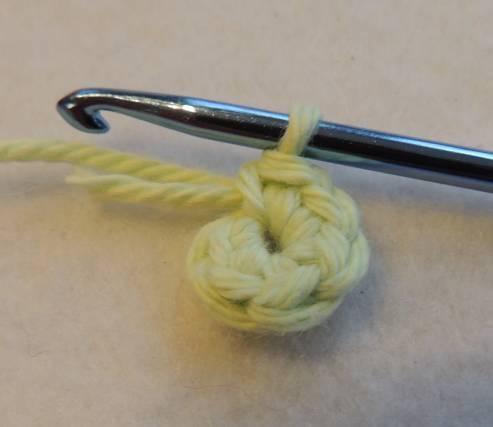
Rnd 1: Ch 1, tighten to form a small knot (this is optional, but it keeps your work from loosening), then ch 2; in 2nd ch from hook work a sc circle of 6 sc (see photo on next page) Do not join.
Rnd 2: Work 2 sc in every sc: 12 sc.
Rnd 3: In FLO (front loops only), work *(sc, ch 3) in next sc, repeat from * around. (see photo on next page).

You will still have the remaining 12 back loops on the reverse side on which you will continue your flower (see photo on next page).
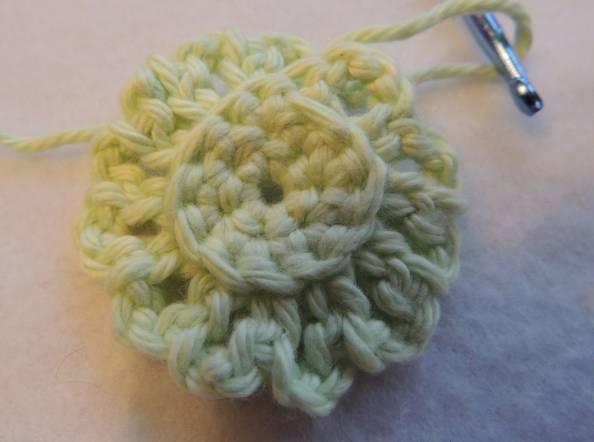
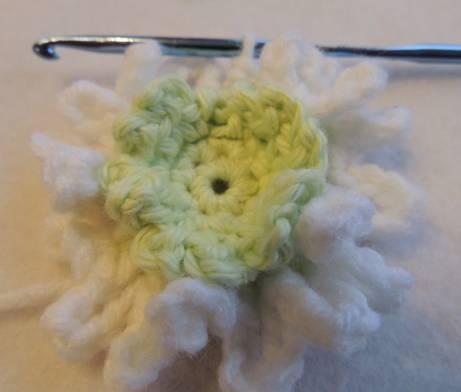
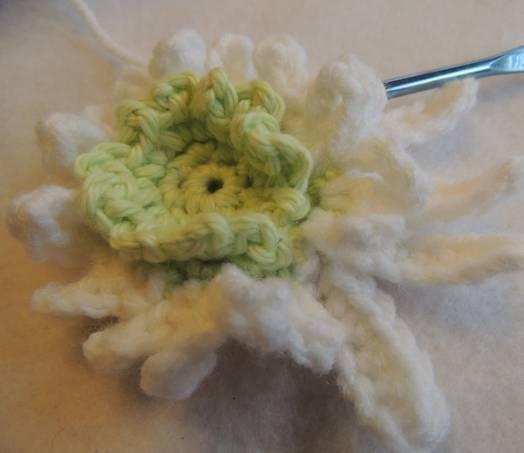
Rnd 4: In remaining back loops on reverse side, work (sc, 2 sc) around for a circle of 18 sc. (see photo below).
Change to main color of your flower (White in my example). Attach to ending point of last round.
Rnd 5: In FLO (front loops only) of last rnd, work *( ch 6, sc in next st), repeat from * around. Do not join.
Rnd 6: in remaining back loops from Rnd 4, work sc in every st. (see photo on next page)
Do not join.
You will now work in the front loops only of the sc stitches just formed.
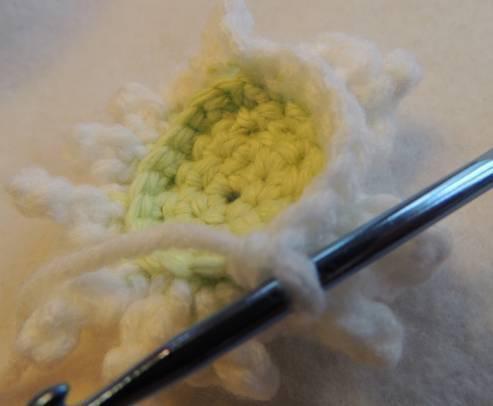
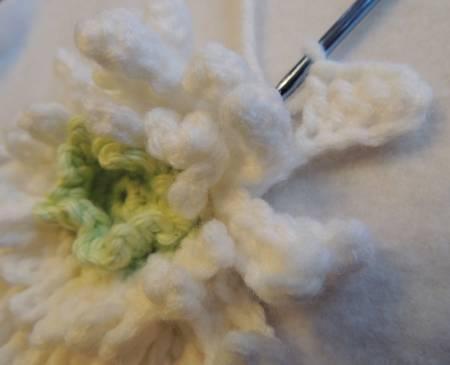
Rnd 7: *Sc in FLO of next sc,Ch 6, skip 1st ch and sc in next 5 ch back to center, repeat from * around. (see photos below) Do not join,
Side view of round 7
Front view of round 7- sc petals
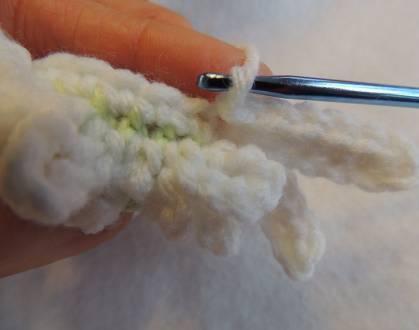
Rnd 8: Again reach to back of flower and work next rnd in remaining back loops from Rnd 6:
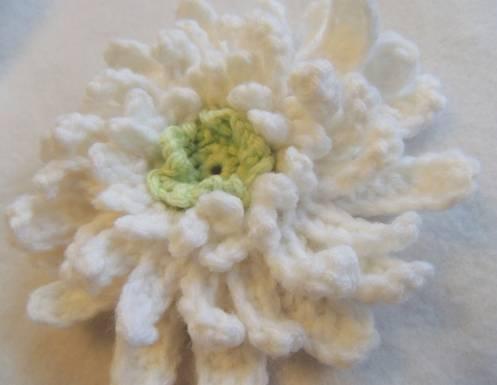
Round 8 – dc petals
*Sc in next loop, Ch 8, skip 1st 2 ch, work dc in next 6 ch back to center, repeat from *around. See photo above. Join. Tie off and weave yarn end through the back of your work.
See how the back of your mum should look in the photo below).
(back view of mum)
And below see the finished Mum!

No comments:
Post a Comment