This crochet jewelry pattern set is a simple and fun set of projects you can wear! You can find it on Etsy here, or on Amazon (both versions are eBooks, and are identical in content.) Scroll down for the free pattern below excerpted from the eBook (the one with the glass beads). Both the Amazon and the Etsy eBook are both $4.40 USD, incidentally. THANK you for considering support for my design work in this way!

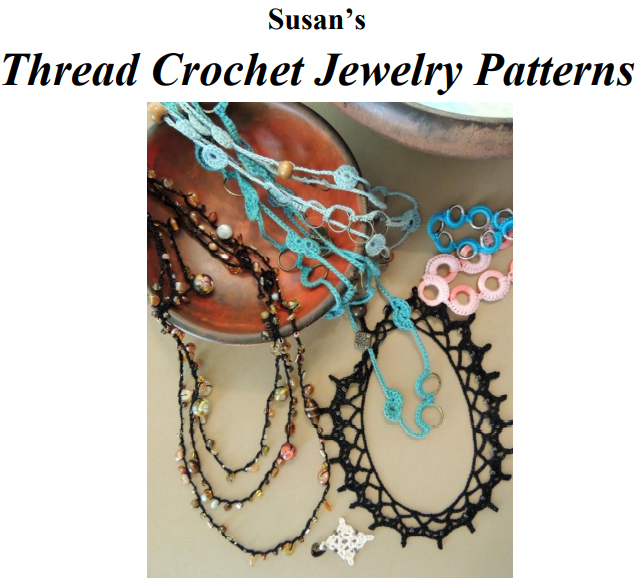
What’s so fun about crochet jewelry is how fast you can make it... and the way that you can incorporate anything into your creation. Crochet jewelry can look Goth, Hippie, Natural...any way you want. It’s an easier, more fun way to make something to wear (trust me, closing those little jump rings or, God forbid, soldering them is a bit tough!)
Here's one of the patterns from the eBook; it's also explained by me on YouTube, so check that out as well.
Section Three: Chain and Bead Designs
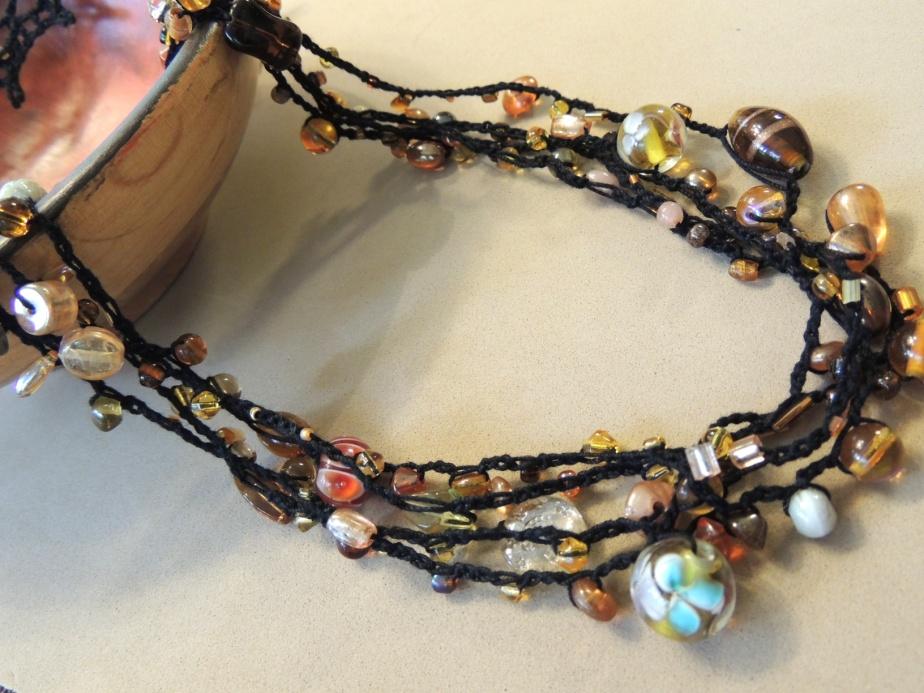
Chain-and-Bead Necklace or Bracelet
You’ll need no. 10 crochet cotton and a size 7 steel thread crochet hook for this project, as well as the desired number of beads. I used about 220 variously sized glass beads, which when pre-strung on my thread (the first step you will read about below) stretched out to about 20”.
This youtube video shows you how to get started on this pretty chain-and-bead necklace!
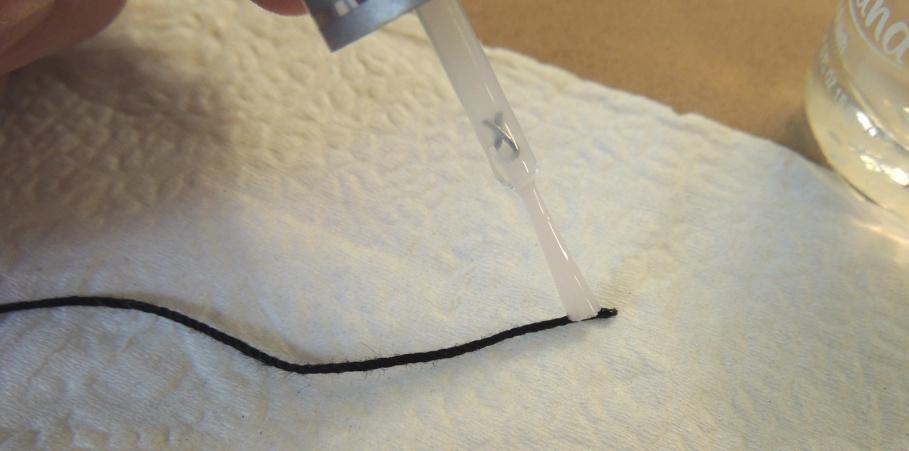
First, you’ll need to stiffen the neatly trimmed end of your working thread so that you can string beads easily! Use a dab of white glue or nail polish,and while it’s not quite dry, roll it in your fingers to straighten it and make a sharp point!
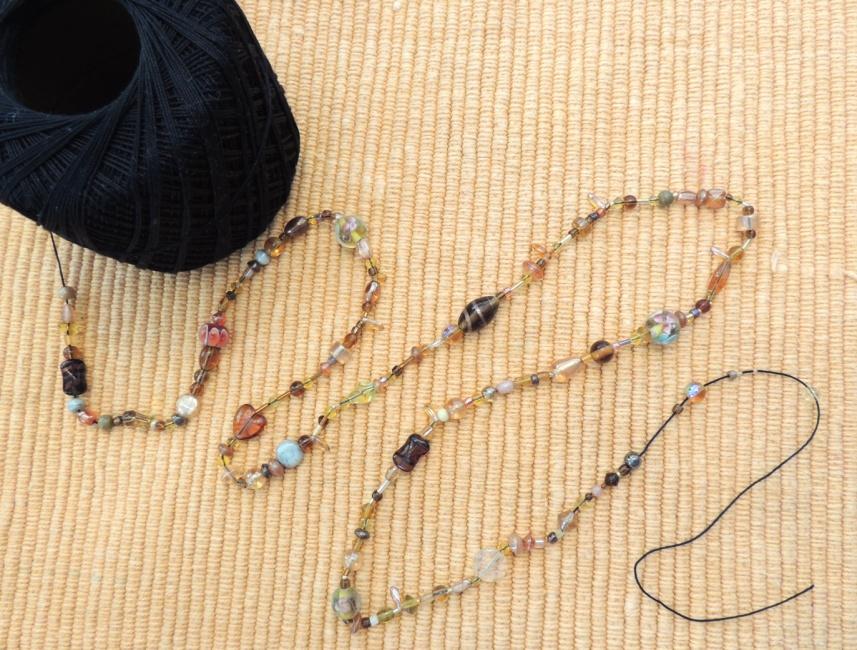
Next, you will string all of your beads, in the exact order and layout that you want them, on to your crochet thread (see below).
Now comes the chaining part: start with a few chains using the end of the thread that was stiffened (you can trim that off). Then, pull up your first bead as you saw in the video,

snug it against the chains you just worked, reach around it, (see below)
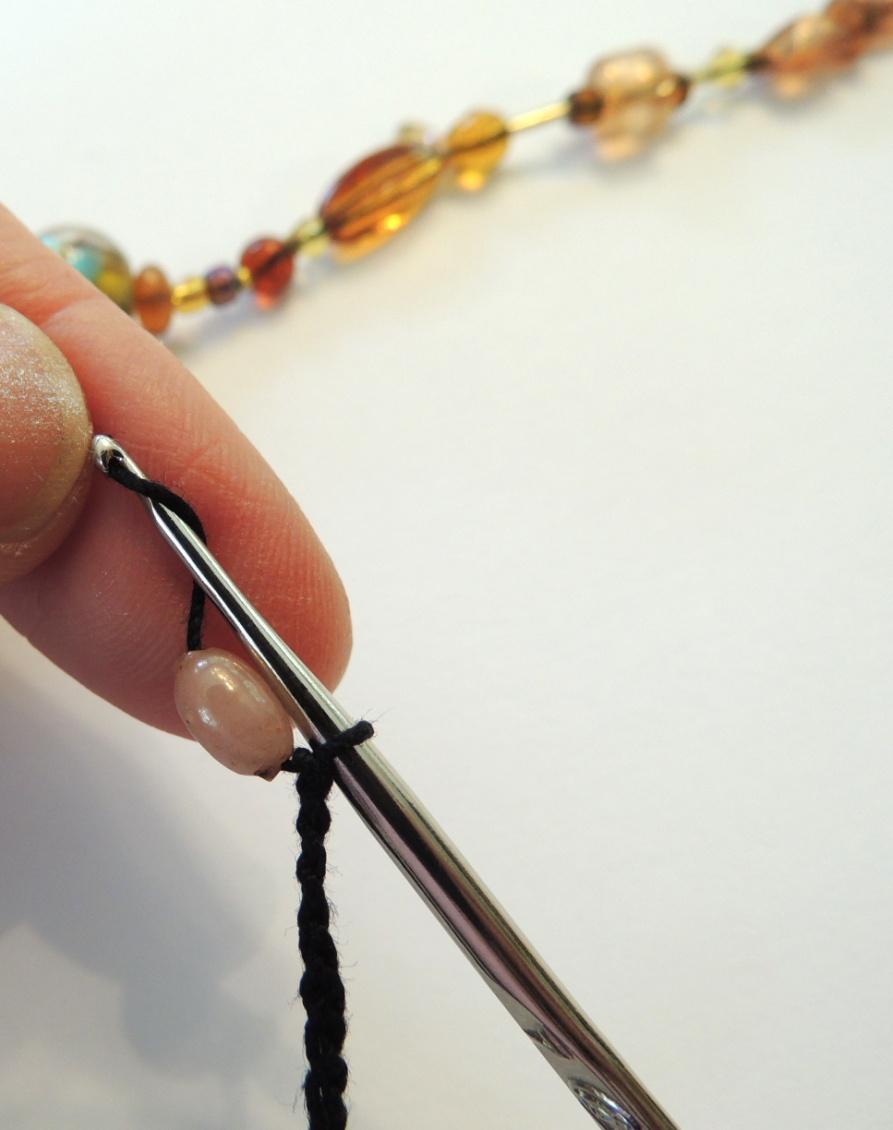
and continue to chain 4. Sometimes you’ll need to seesaw your thread back and forth to make the area where you jump across the bead nice and tight.
Continue in this manner *chain 4, jump over bead, repeat from * to desired length (for me, that was eight feet!)

In the photo below, you can see how your necklace grows as those stringed beads wait for you near your ball of thread. You’ll occasionally need to move them down, away from your work, as you need more working thread.

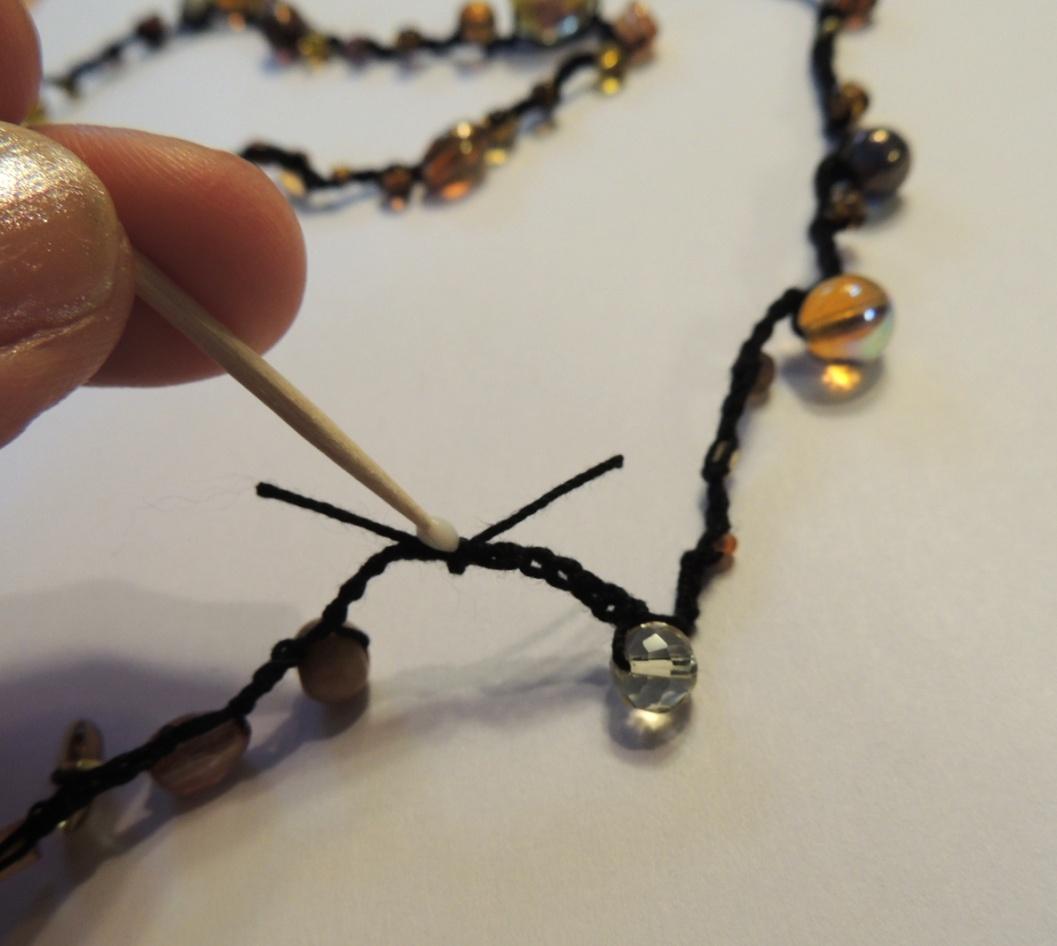
When you are done, knot the two ends together tightly with a double knot, then finish off the knot with a tiny dab of glue (see below).
Your finished piece can be looped around itself three or even four times to make a beautiful piece of jewelry; you can even wrap it around your wrist many more times to make a gorgeous bracelet! The best part is, your necklace is washable and durable.
If you wish, you can work larger knots at each end of your necklace and put crimps and lobster claw closures on them to make the wearing easier.

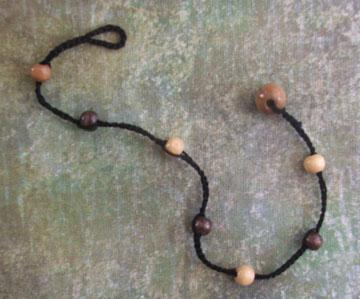
Above you can see how you can use the same method of chaining, then working around beads to create a simple anklet. In this case you can start with a loop which will be half of your closure mechanism: Ch 12, join to first ch and tighten to create loop closure. I simply continued on in exactly the same manner as the necklace, to add one bead for every 12 chains. Finish off with a knot around one final large beadwhich becomes the other half of the closure. Tie off with a double knot and secure the knot with a dot of glue.
Thank you for being a blog reader! If you want to see more of my work, check out my pattern store at www.susanlinnstudio.etsy.com or find me on Amazon! Happy crocheting!
No comments:
Post a Comment